5. ENGINE REMOVAL/INSTALLATION Pulsar CK 125
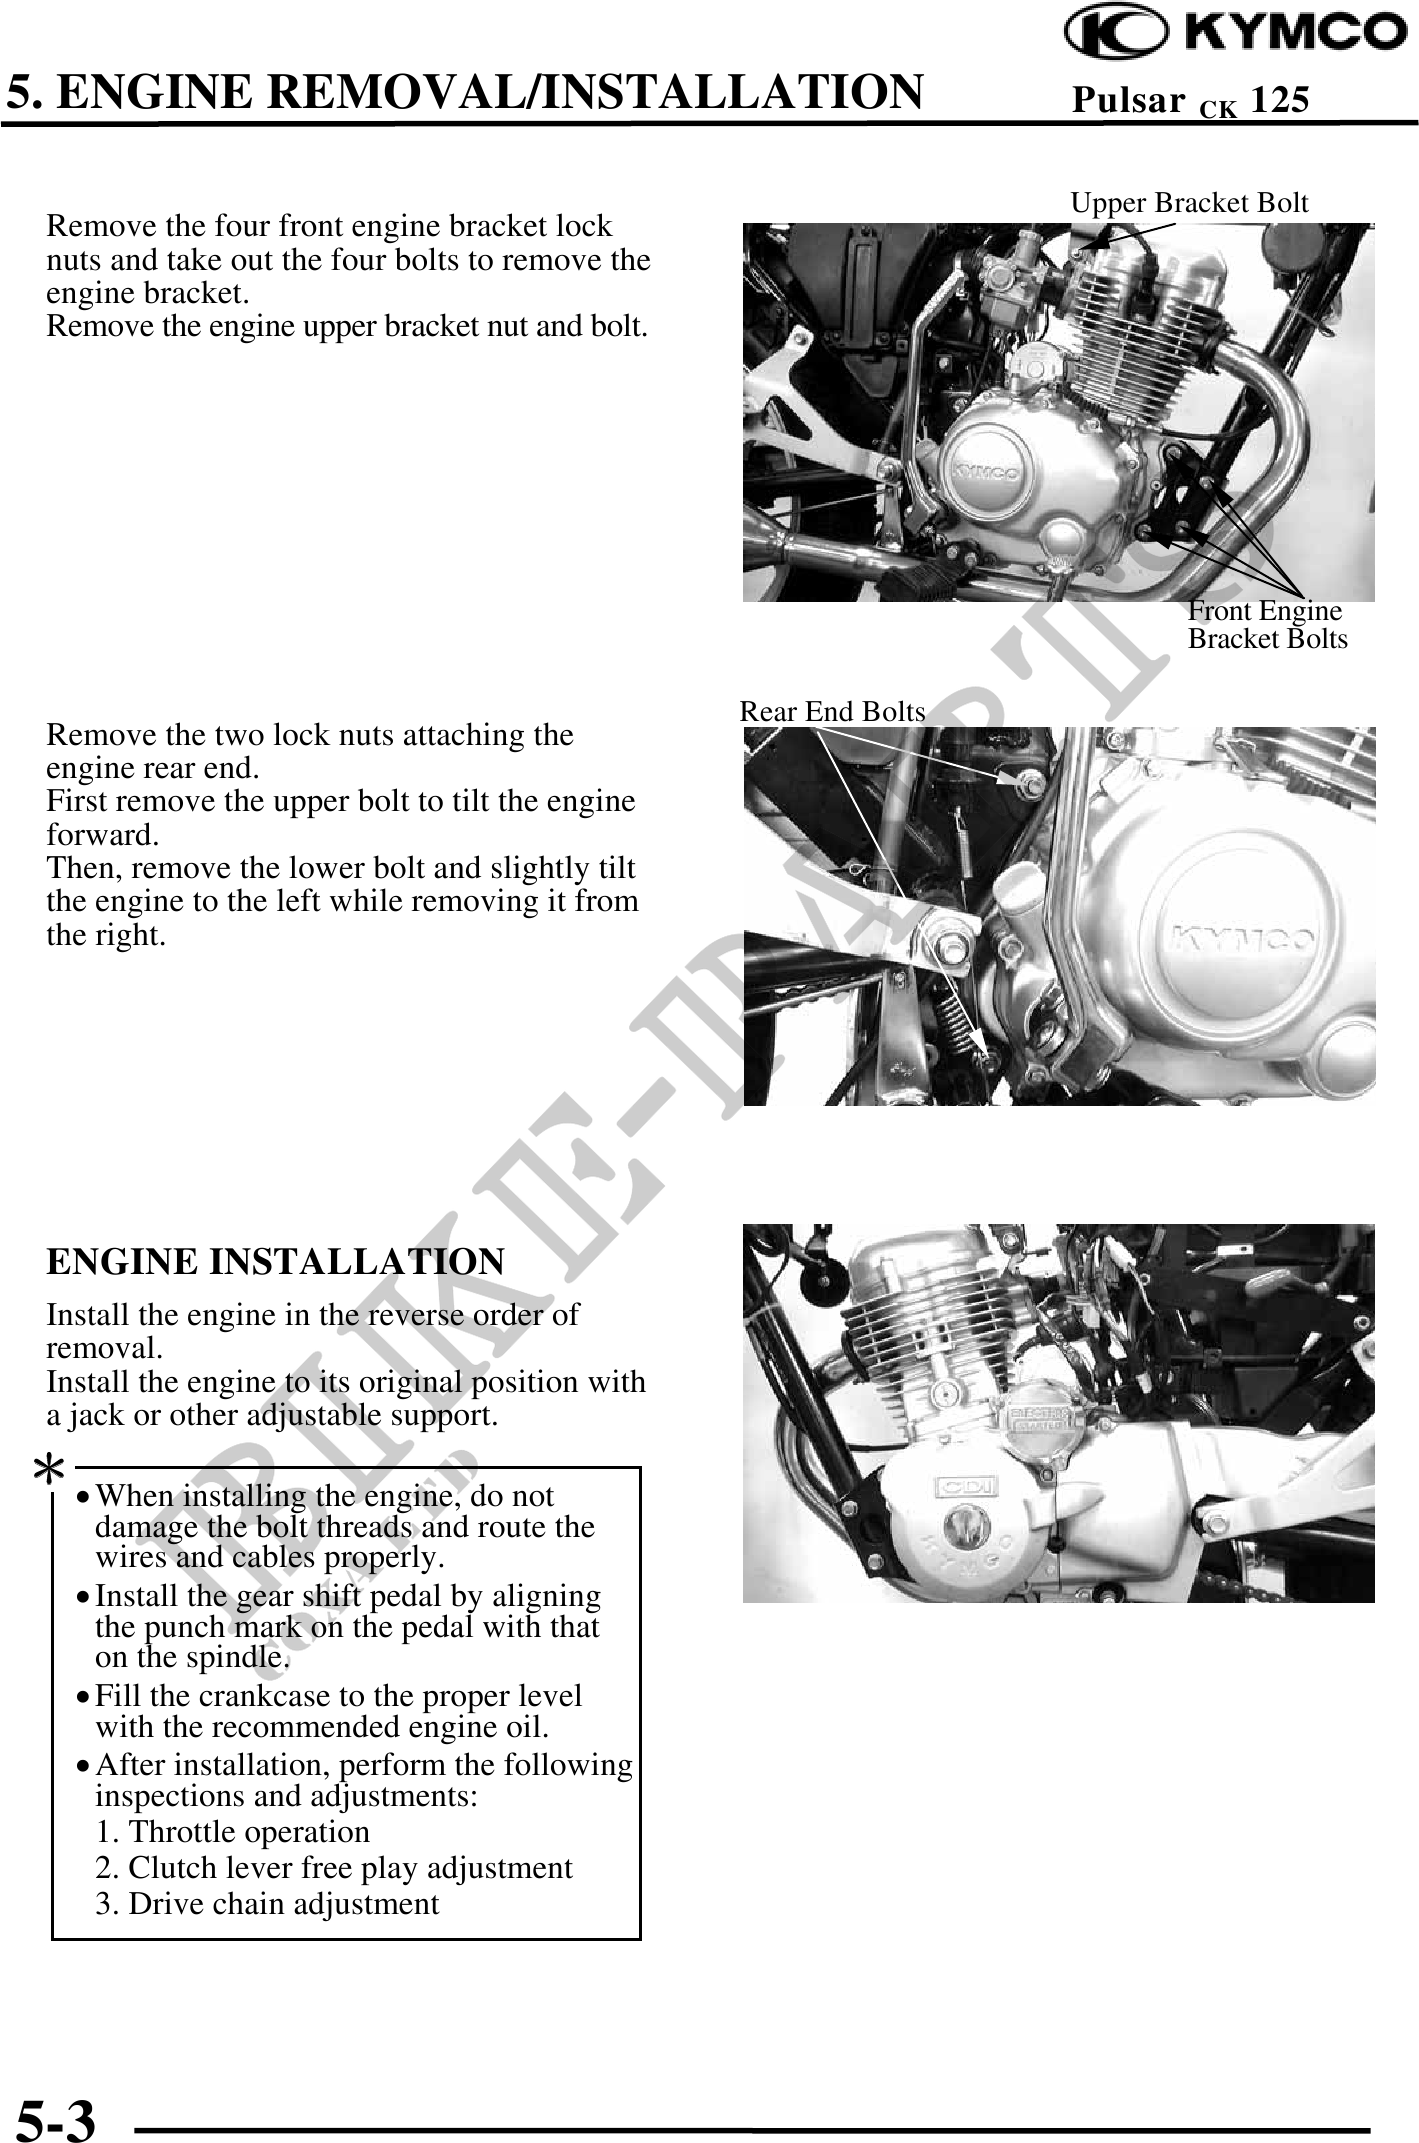
Upper Bracket Bolt
Remove the four front engine bracket lock
nuts and take out the four bolts to remove the
engine bracket.
Remove the engine upper bracket nut and bolt.
Front Engine
Bracket Bolts
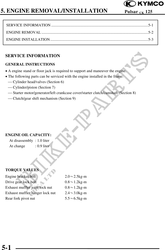
Rear End Bolts
Remove the two lock nuts attaching the
engine rear end.
First remove the upper bolt to tilt the engine
forward.
Then, remove the lower bolt and slightly tilt
the engine to the left while removing it from
the right.
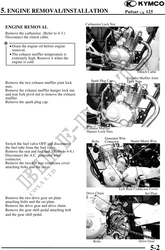
ENGINE INSTALLATION
Install the engine in the reverse order of
removal.
Install the engine to its original position with
a jack or other adjustable support.
· When installing the engine, do not
damage the bolt threads and route the
wires and cables properly.
· Install the gear shift pedal by aligning
the punch mark on the pedal with that
on the spindle.
· Fill the crankcase to the proper level
with the recommended engine oil.
· After installation, perform the following
inspections and adjustments:
1. Throttle operation
2. Clutch lever free play adjustment
3. Drive chain adjustment
5-3